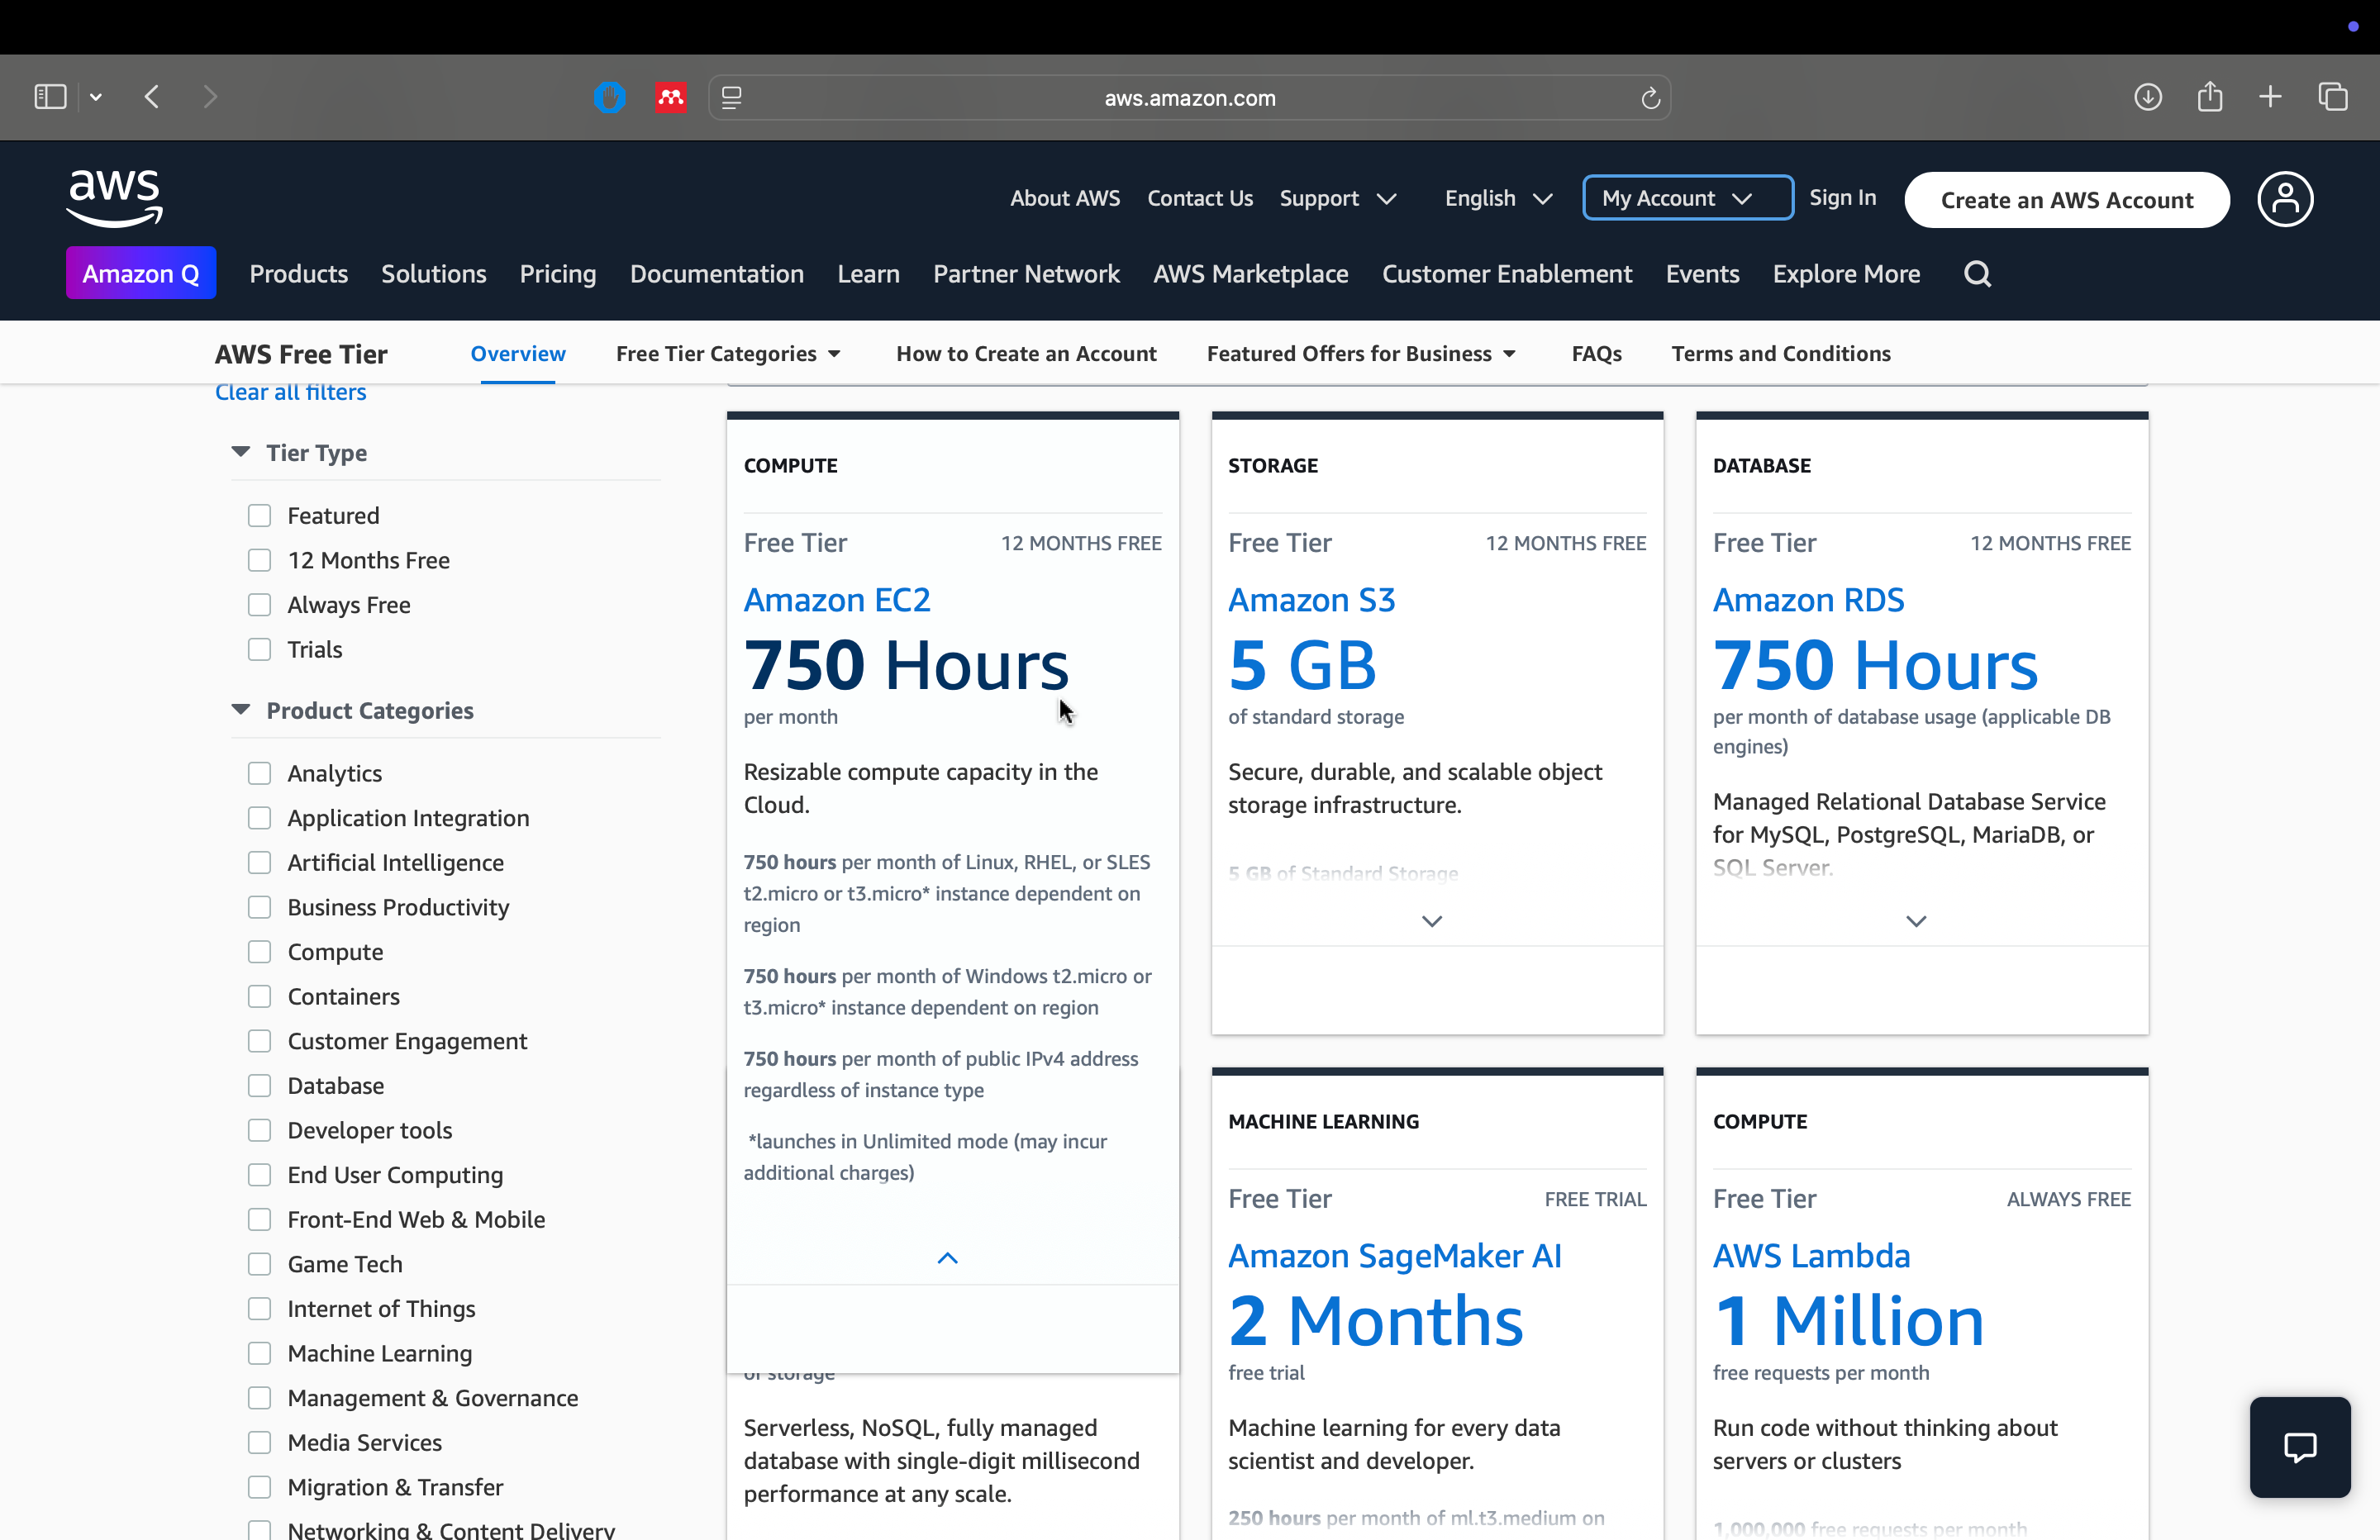
🌐 AWS EC2 Roadmap: Launching Your First Ubuntu Server
Date: 2025-05-23
This document provides a step-by-step roadmap for setting up an Ubuntu Server on AWS EC2, including setup, configuration, and essential practices.
🧭 Phase 1: Preparation
✅ Prerequisites
- An AWS account: https://aws.amazon.com
- A stable internet connection
- Familiarity with basic Linux commands
- SSH client (built-in on Linux/macOS, or PuTTY on Windows)
🚀 Phase 2: Launch EC2 Ubuntu Server

Step 1: Sign In and Navigate to EC2
- Log in to your AWS Management Console
- Search for EC2 and open the service
- Create a Zero-Spend Budget notification
Step 2: Launch Instance
Sign in to the AWS Management Console
Navigate to https://console.aws.amazon.com/ and log in with your AWS credentials.Access the EC2 Dashboard
In the AWS Management Console, type EC2 in the search bar and select EC2 to open the EC2 Dashboard.Launch a New Instance
Click on Launch Instance.
Name and Tags: Enter a descriptive name for your instance (e.g., Ubuntu-Server).Choose an Amazon Machine Image (AMI)
Under Application and OS Images (Amazon Machine Image):
Select Ubuntu Server 22.04 LTS (or your preferred version).
Ensure the AMI is marked as Free Tier eligible.Select an Instance Type
Choose t2.micro (or t3.micro if t2.micro isn't available in your region), both of which are Free Tier eligible.Configure Key Pair for SSH Access
Under Key pair (login):
If you have an existing key pair, select it.
If not, click Create new key pair:- Provide a name for your key pair.
- Choose the file format (.pem for Linux/macOS, .ppk for Windows).
- Click Create key pair and download the private key file. Store it securely.
Configure Network Settings
Under Network settings:
Ensure that a security group is configured to allow SSH access:- Type: SSH
- Protocol: TCP
- Port Range: 22
- Source: Your IP (recommended) or Anywhere (0.0.0.0/0) for broader access (less secure).
Configure Storage
The default storage is typically sufficient:- Size: 8 GiB (Free Tier eligible up to 30 GiB).
- Volume Type: General Purpose SSD (gp2).
Review and Launch
Review all configurations.
Click Launch Instance.
Step 3: Connect via SSH
Once the instance state is running:
- Select your instance.
- Click Connect.
- Choose the SSH client tab.
- Follow the provided instructions to connect via SSH using your terminal:
chmod 400 /path/to/your-key.pem
ssh -i /path/to/your-key.pem ubuntu@your-instance-public-dns
Replace /path/to/your-key.pem with the path to your downloaded key file and your-instance-public-dns with your instance's public DNS.
🔧 Phase 3: Configure Your Server
Update & Install Tools
sudo apt update && sudo apt upgrade -y
sudo apt install git curl ufw -y
🔐 Phase 4: Secure the Server
Configure UFW (Uncomplicated Firewall)
sudo ufw allow OpenSSH        # Allow SSH
sudo ufw allow 80             # Allow HTTP
sudo ufw allow 443            # Allow HTTPS
sudo ufw enable               # Enable firewall
sudo ufw status               # Show current rules
⚠️ Don't enable UFW before allowing SSH — or you'll lock yourself out of the server!
📦 Phase 5: Clean Up
When done, don’t forget to stop or terminate your EC2 instance to avoid unexpected charges.
📝 Notes
- All actions are logged under your AWS billing — track usage under the Billing Dashboard
- Add tags like
Name=UbuntuDemoto keep resources organized - Consider creating an Elastic IP for consistent access
✍️ Author
János Rostás & ChatGPT
ECE Student | Tinkerer with a Purpose | Cloud Enthusiast | janosrostas.co.uk
|
|